You can create any custom form that comes to your imagination. For example: You may want to create your own custom contract, wedding application, company letterhead, invoice, reminder letters, etc.. You can also use your own company logo and/or insert pictures to spice up the look of your custom forms.
Step 1: From the Main
Calendar Form, select "Tools" from the menu bar, then select "HTML
Custom Form Designer".
Step
2: You should now see the HTML Designer Form. This HTML
designer and it's features probably looks very familiar to
you. Almost all writing applications are setup with a similar interface
as well as similar features. For example the "B" icon stands for "Bold",
the "I" icon stands for "Italic" and the "U" icon stands for
"Underline". You can probably figure out that the icon displaying a
paint bucket spilling different colors is used for your font colors.
Feel free to play around with this HTML Designer to get comfortable with all
of the features. You can also use this HTML Designer to create web pages
for your website. Would it suprise you to know that this entire
help menu program was created by this same exact HTML Designer?

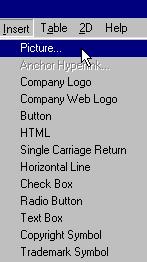
Step 3: Before we begin, let's insert a Picture into your custom form. In this example, we will show you how to create a Payment Schedule Form to include your company logo, insert a table with rows and columns, and also add a few custom fields which will be converted to your client's actual data when printed from the contract form. To insert your logo, select "Insert" from the menu bar, then select "Picture".
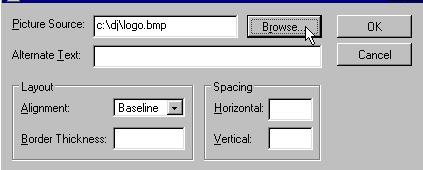
Step 4: You should now see a dialog box prompting you to enter the location of your logo file. In the illustration below, our logo file, logo.bmp, is located in the directory "c:\dj\". If you are not sure where your logo file is located, simply click on the button labeled "Browse" which will give you the opportunity to manually browse your computer's directories to locate your logo file. Once you have found your logo file, click the button labeled "OK". (Note: You can experiment with the other settings such as "Border Thickness", "Alignment", a little later. You can also insert pictures stored on a website by entering the URL address i.e. http://www.djcalendar.com/images/logo.gif )
Step 5: Now that you have inserted your first picture, your logo, let's center it. Simply click on your logo picture, then select the "Center" icon as show in the illustration below.

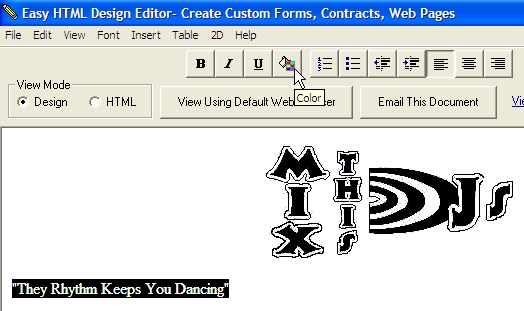
Step 6: In the next illustration, we will show you how to insert text and change the color of the text. Simply click your cursor on an empty space in your custom form and type. To change the color of the text, highlight the entire text, and select the "Color" icon as shown in the illustration below.
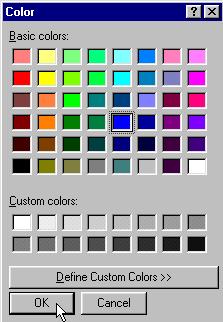
Step 7: You should now see the color dialog box. Select your new font color and click the button labeled "OK".
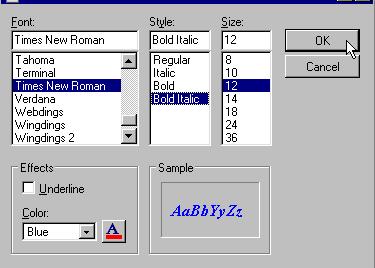
Step 8: You can also change the text size. To do this, highlight the entire text, right click your mouse button anywhere on the custom form, and then select "Font" from the pop up box.
Step 9: You should now see the font dialog box with a variety of font options. Select your choice of font options to alter the appearance of your text, and then select the button "OK".
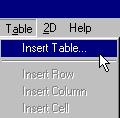
Step 10: The following illustration will show you how to insert a table with rows and columns. To insert a table, select "Table" from the menu bar, then select "Insert Table" .
Step 11: Now enter the number of columns and rows you would like for your table to contain, then click the button labeled "OK". (Note: Once you get comforable with these instructions, you can play around with the other options later.)

Step 12: You should now see your new table with rows and columns. Since we are creating a "Payment Schedule Form", the following illustration will show you how to insert the custom payment fields into your form. This DJCalendar program enables you to use "fields" to insert into your custom forms which will be converted to the actual clients data once printed from the Contract Form. All data that is entered on the Contract Form can be inserted into your custom form using the "fields" available. Since you have made it this far, we're assuming that you already know that this DJCalendar program allows you to store up to 4 separate Payments Received by your client. Each Payment Received can contain a Payment Date, Payment Check #, and Payment Amount. We will now insert these custom Payment fields into our table. First, lets display the fields we can use for our custom forms. Simply click on the blue label "View Contract Fields", a box will pop up with the various field names you can use in your custom forms.
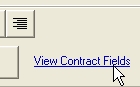
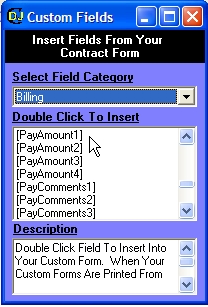
To insert a field, simply click or point your cursor in the exact location on the custom form, then select the custom field from the drop down box, and double click on the field name
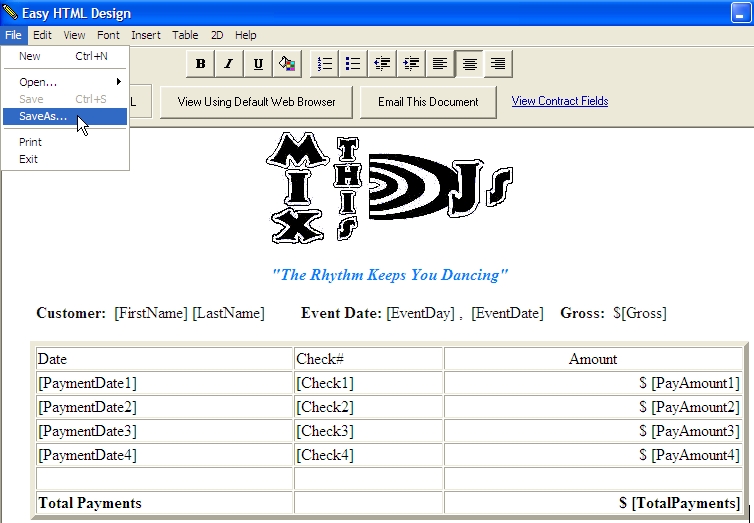
Step 13: You will notice in the illustration below, we have added a few more fields. See if you can do this on your own. (Hint: To add extra rows, put your cursor in one of the table cells, then select "Table" from the menu bar, then select "Insert Row". We originally started out with 3 rows and 3 columns....so you will need to insert a total or 3 more rows). Once you have finished designing your form, we will need to save it. Select "File" from the menu bar, then select "Save As".
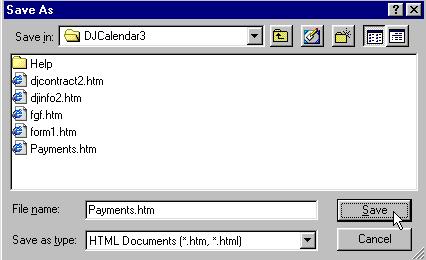
Step 14: You should now see the "Save As" dialog box. Enter a descriptive filename for your new custom form and click the button labeled "Save". In this illustration, we will save our custom form with filename "Payments.htm" in the directory "C:\Program Files\DJCalendar4\". (Note: Since your creating custom HTML forms, all of your custom forms will have a ".htm" extension in their filename. If you were to type "Payments" instead of "Payments.htm", this program will automatically append a filename extension of .htm)
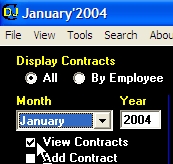
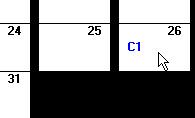
Step 15: Now let's see what our custom form will look like once printed from the Contract form. To print your custom form, Payments.htm, we will need to retrieve an existing contract. From the Main Calendar Form, select the Calendar Mode checkbox labled "View Contracts".
Step 16: Now click on an existing contract. In this example, we have 1 confirmed contract for January 26th.
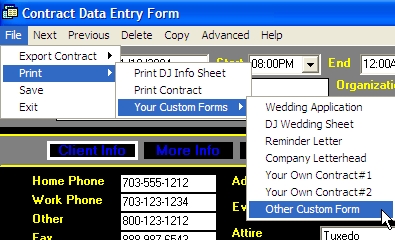
Step 17: You should now see the Contract Form and your clients data. To print our custom form created earlier, select "File" from the menu bar, then select "Print", select "Custom Forms", and then select "Other HTML File".
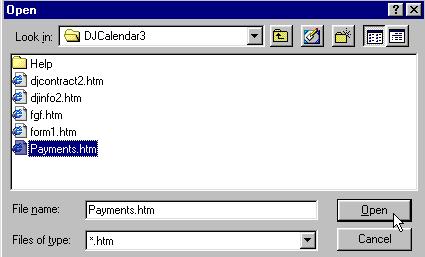
Step 18: You should now see the "Open" dialog box. Let's locate the "Payments Received" custom form we saved earlier. If you followed the examples above, your custom form should be labeled "Payments.htm" and located in the directory "C:\Program Files\DJCalendar4\". Highlight the file, Payments.htm, and click the button labled "Open".
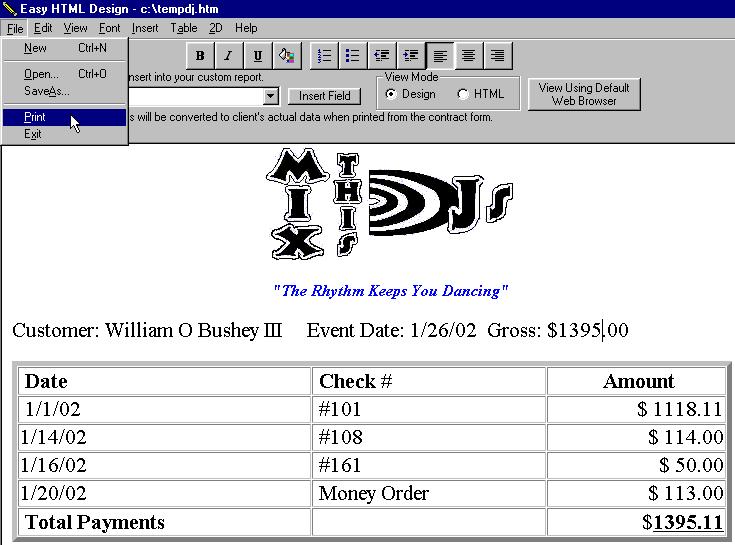
Step 19: Congratulations! Here is your new report. You will notice that the custom "fields" you entered into the report were converted to the client's actual data. Just imagine the wonderful custom forms you can create with this program. The only thing left to do is either Save this form to a file to email to your client, or print. To print, simply select "File" from the menu bar, then select "Print".
To learn how to add custom forms to the contract form's print menu, click here.