1. Customizing Your Contract Data Entry
Form
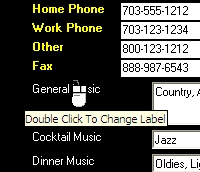
You can customize over 50 fields to better suit your entertainment
business. Simply double click any of the "white" labels to rename
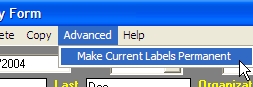
them. Once you have finished renaming your field labels, click
"Advanced" from the menu bar and select "Make Current Labels
Permanent". Your labels will now be used for existing or
future contracts added.
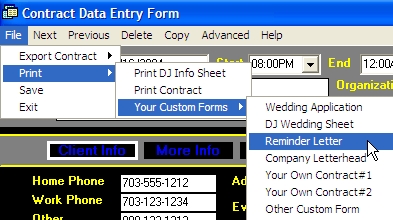
2. Printing Contracts and Custom Forms
This program gives you the ability to use Custom HTML forms and
Microsoft Word documents to interact with your client data. The whole
idea is to create custom form templates to print or email and have
the client's information automatically inserted into the custom form
templates. You can create fancy wedding applications, contracts,
invoices, etc.. and include your own company logo graphic and pictures.
To learn more about creating custom forms, click here.
Step 1: To print from the contract form, select "File" from
the menu bar, then select "Print".
3. Emailing Contracts and Custom
Forms
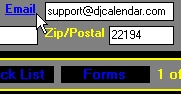
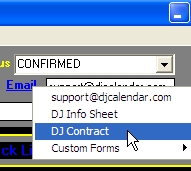
Step 1: To email a contract or custom form, click
on the blue label entitled "Email" (make sure there is an email address
in the text box). Once you click on the blue label "Email", select "DJ
Contract", or your choice of custom forms. This will take you to the
email form. You will notice that the body of your Email is
your custom form with the clients information already inserted into the
form. You can setup your own contracts or other custom form templates to
email on the "Setup Options Form".
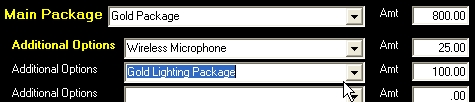
4. Assigning Packages and Additional
Options:
Step 1: To assign a DJ package, click
on "Billing" from the selection bar, then use the drop down boxes to assign
your DJ package and Additional Options. You can customize your entertainment
packages and additional options from the "Setup Options Form".

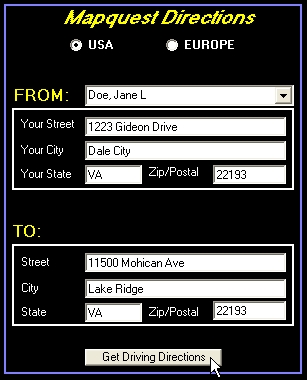
5. Driving Directions
Step 1: To store directions for your event, click
on the "Directions" selection bar, then enter your Event Place
information on this directions form. You can also use previously
saved directions. To get driving directions for any of your
employees, use the Mapquest feature. Internet connection is required to
retrieve directions from Mapquest.
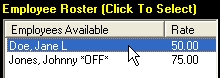
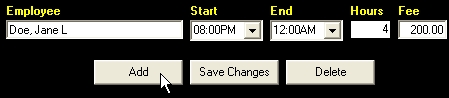
6. Assigning Employees
Step 1 - Click on the selection bar labeled "Employee"
and use the listbox to select which employee to assign. Now click on the
button labeled "Add" to assign this particular employee to the event.
Note: To add more employees to your roster, go to the "Employee Roster
Form" by selecting "Tools" from the menu bar located on the Main Calendar
form.
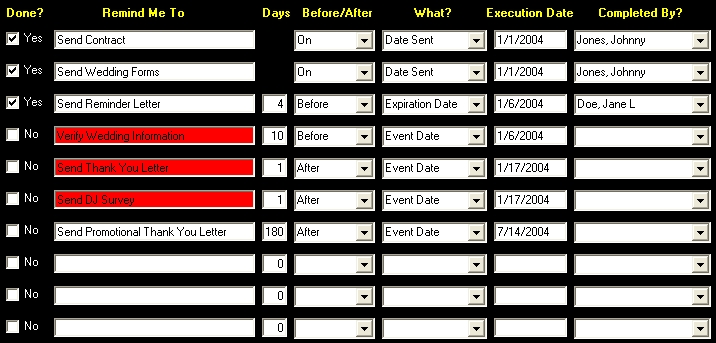
7. Checklist
Items
You can setup
custom recurring checklist items on the "Setup Options
Form". Click Here for more info. It is recommended that you
leave a few checklist items blank to reserve for future use. For
example: A customer may ask for you to call next Monday. In
this case, you could setup a checklist item on the fly to call this client
back next Monday. Note: For your convenience, all
outstanding checklist items will be colored with a red background.
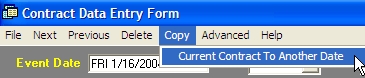
8. Reschedule or
Copy Contract To A New Date
Step 1:
To copy a contract to another event date, select "Copy" from the menu bar at
the top of your screen, then select "Current Contract To Another Date".
You will be prompted to enter a new event date. This Copy feature
prevents you from having to retype the clients information all over again.
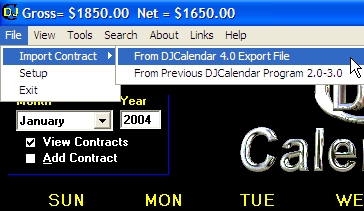
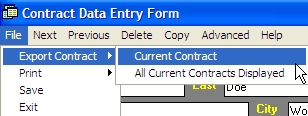
9. Export Contract To
Share With Other DJs Using DJCalendar 4.0 Software
You can use the Export feature
to save your contract to a file. Another DJ using DJCalendar 4.0 can use
the Import feature to import this same file. Once imported, the
contract will automatically be stored under the same event date.
Step 1:
To Export an Event to a file, click on "File" from the menu bar, then select
"Export", then "Current Contract". You will be prompted to enter a
filename for this export file. Finally, you will be asked if you
want to email this file to all of the employees currently scheduled for
this same event.
Step 2:
If your the employee receiving an export file, you can import the event using
the Import feature located on the main calendar form. Select "File" from
the menu bar, then select "Import Contract", then select "From DJCalendar 4.0
Export File".